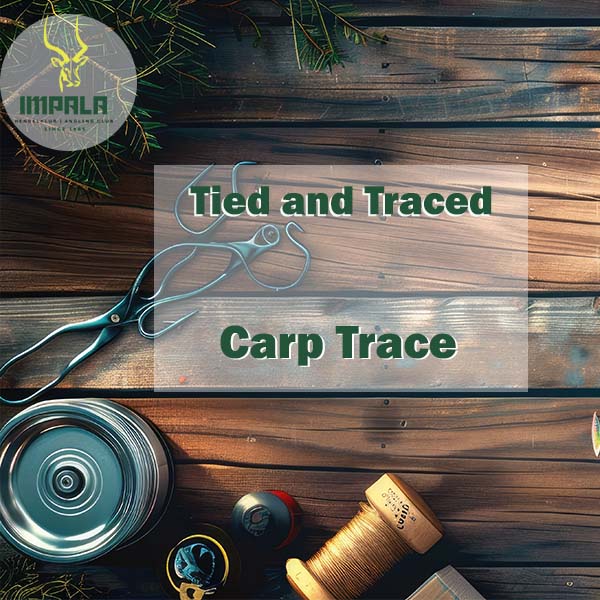
Welcome back to our "Tied and Traced" series in the How To Series, brought to you by the seasoned anglers of the Impala Angling Club. This guide is designed to enhance your angling skills through tried-and-true methods. Today, we're focusing on tying a carp trace – an essential skill for fishermen aiming to securely connect and catch those elusive carp. Follow this simple, step-by-step guide to mastering this essential technique:
Materials Needed:
- Carp Hook: A strong, sharp hook suitable for carp fishing.
- Braid Hook Link: A coated braid or fluorocarbon line is preferred.
- Lead Clip System: For quick lead changes.
- Swivel: To prevent line twists.
- Leader Line: A durable, abrasion-resistant line.
- Scissors or Line Cutter: For clean cuts.
Step-by-Step Guide:
Step 1: Attach the Hook to the Hook Link
- Select Your Hook and Hook Link: Choose a hook appropriate for carp and a braid or fluorocarbon hook link.
- Tie the Hook Link to Hook: Use the knotless knot technique for a secure attachment.
- Knotless Knot:
- Cut about 10 inches of hook link.
- Thread the end through the hook eye, leaving around 2-3 inches from the hook.
- Wrap the short end around the hook shank 7-10 times.
- Thread the end back through the hook eye from the same side as before.
- Pull tight to secure the knot.
Step 2: Add a Hair Rig
- Create the Hair Rig: Leave an extended loop of the short end after tying the knotless knot.
- Attach Bait Stop: Tie a small loop at the end of the hair and attach your chosen bait stop, securing your bait on the hair rig.
Step 3: Attach the Hook Link to the Swivel
- Prepare to Tie: Cut about 6-10 inches of your hook link, depending on your preference.
- Attach the Swivel:
- Improved Clinch Knot:
- Thread the hook link through the swivel eye.
- Wrap the line around itself 5-7 times.
- Pass the end through the loop near the swivel.
- Tighten the knot and trim the excess line.
Step 4: Add the Lead Clip System
- Attach the Lead Clip: Slide the lead clip onto the leader line.
- Secure the Swivel: Push the swivel into the lead clip until it clicks into place.
- Attach the Lead: Clip your lead onto the lead clip system for quick changes.
Step 5: Connect the Leader Line to Your Main Line
- Prepare the Main Line: Cut an appropriate length of your main line and attach it to the other end of the swivel using the same knot technique.
- Add a Tail Rubber: Slide a tail rubber over the clip to keep everything neat and tidy.
Step 6: Final Check
- Check the Rig: Ensure all knots are tight and the components are secured.
- Double-Check Everything: Look for any weak points and test the strength.
By following these steps, you’ll have a reliable and efficient carp trace ready for your next fishing trip. Experiment with different bait and leader lengths to find what works best for you. Happy angling with the Impala Angling Club!
Impala Angling Club has been at the forefront of angling since 1965 The club and its members are family oriented and have the passion to grow and develop communities youth by affording them opportunities to grow the sport. Impala angling club consist of various previous and current provincial and national anglers within the club. The club is the gateway to representing a province or a country. For more information about Impala Angling Club and services, visit our website at www.impalaclub.co.za